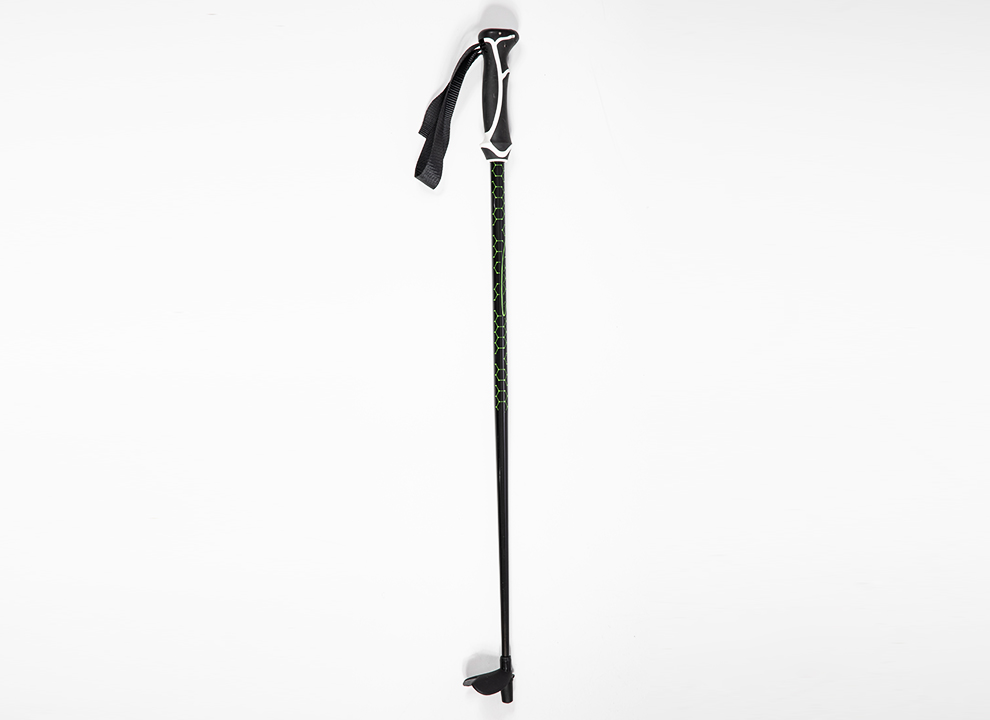
1) Adjust the length of trekking poles Generally, three […]
1) Adjust the length of trekking poles
Generally, three-section trekking poles have two sections that can be adjusted. First, loosen all the trekking poles. Extend the pole near the bottom to the maximum limit. There are scales on the trekking poles for reference. Hold the trekking pole on a flat surface to adjust the length of the trekking pole, the arm hangs down naturally, use the elbow as the fulcrum, raise the forearm to 90 degrees with the upper arm, and then adjust the tip of the trekking pole downward to touch the ground, or put the trekking pole on the ground. Place the head 5-8 cm under the armpit, then adjust the tip of the pole downward until it touches the ground, and lock all the poles of the trekking pole. The other trekking pole that has not been adjusted can be adjusted to the same length as the one with the locked length. When adjusting the trekking poles, you should not exceed the maximum adjustment length shown on the trekking poles. When purchasing trekking poles, you can first adjust the length to determine whether you can buy a trekking pole of the right length.
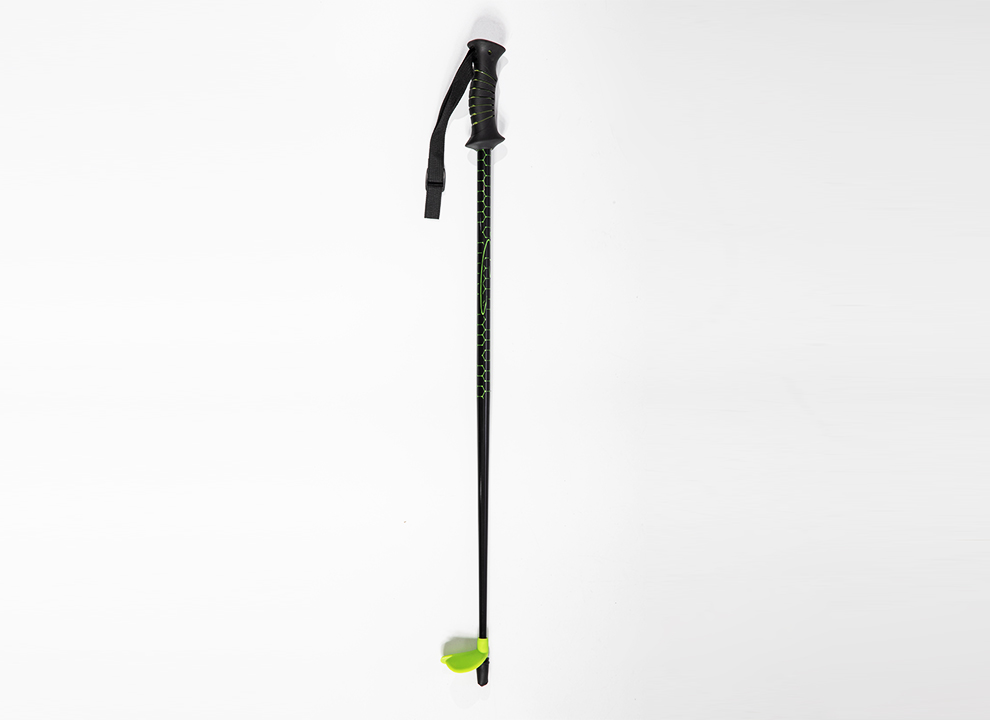
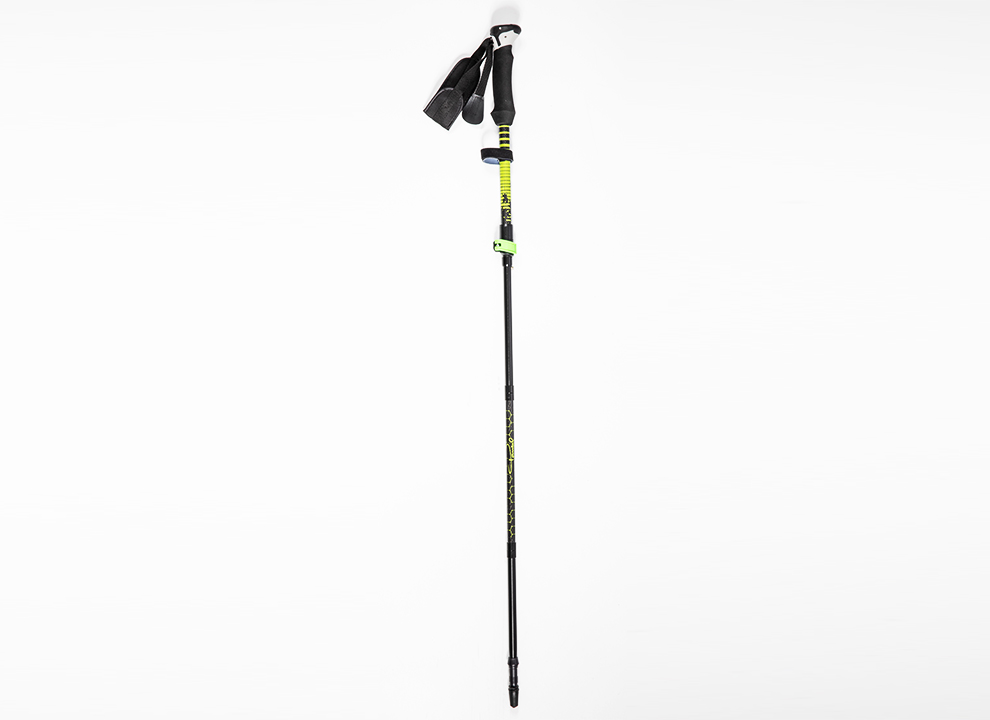
2) Use of wristbands
When using trekking poles, first adjust the length of the wristband (it is better to adjust it to your own comfort)
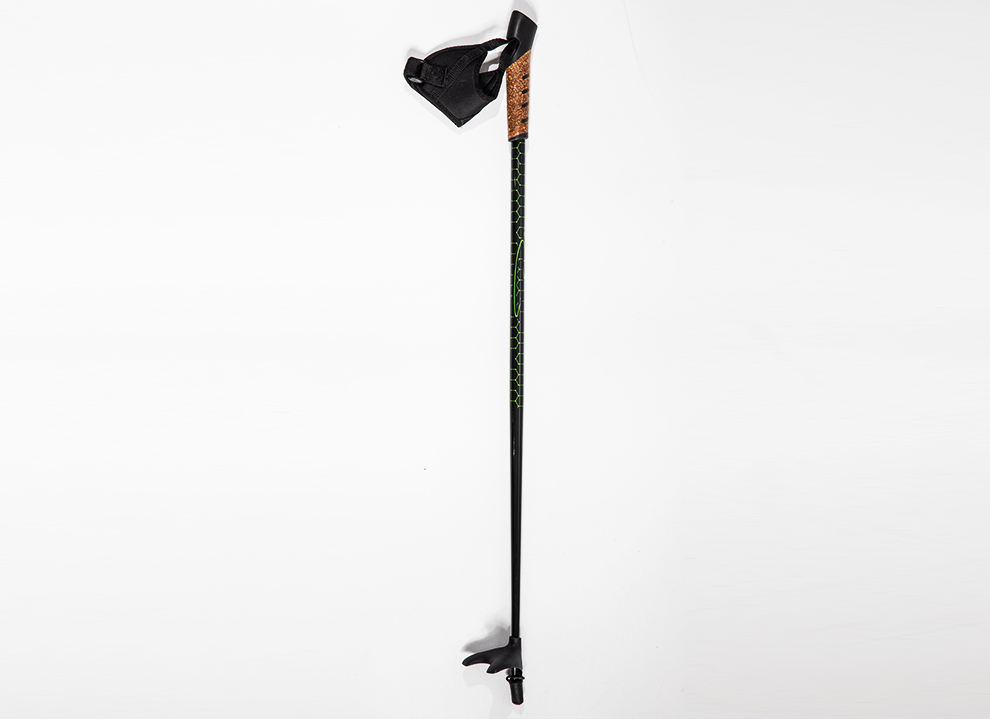
When most people use trekking poles, they hold the handle of the trekking pole tightly and apply force, thinking that the function of the wrist strap is to keep the trekking pole from leaving their wrist. If you think so, then you are wrong. The importance of the strap is no less than the strength of the trekking pole itself. When we use trekking poles downhill, the impact of trekking poles should be transmitted to our arms through the wrist strap.
When going uphill, the thrust of the arm is transmitted to the trekking pole through the wristband to generate assistance for the uphill, so when our wrist passes through the wristband, we should not go in directly from the top of the wristband to grab the handle, but should put the wristband Pick it up, thread it under the wrist strap, press the strap into our palm, and then lightly grasp the handle to support the trekking pole through the wrist strap instead of holding the handle tightly. force. If there is a buckle, make some adjustments, remember not to affect the operation of the trekking pole.
3) Flat ground and gentle uphill
Take the same rhythm as you normally walk. Bring the trekking pole forward with your right arm while your left foot is forward, but the tip of the pole should not exceed the front of your body. Then push back against the ground and do the same action with your left hand and right hand. .
4) Sloping steep slopes
The action is the same as normal walking, but the arm should move forward and place the position of the trekking pole in front of the body, and use the trekking pole to support the body up to reduce the pressure on the legs. If necessary, you can use two trekking poles at the same time for climbing. Action, when pushing the body up, the palm can be placed on the top of the trekking pole to strengthen the push.
5) Downhill
Since the impact force of downhill is relatively large, trekking poles should be used to reduce the load on the legs at this time. Therefore, the position of trekking poles must be placed in front of the body, and it must land on the ground before the front feet to achieve the effect of sharing the force. Therefore, the body will definitely lean forward. This action is not a natural action for us to go downhill, so it needs to be practiced frequently, and at the same time, you need to feel how far the trekking pole should be placed in order to achieve the effect of reducing the pressure on the legs, and it will not drag Slow down the speed and rhythm of the original march. When necessary, the length of the trekking poles can be lengthened and adjusted completely according to personal feeling.
 English
 简体中文
简体中文